

Quick start
Follow these steps to track a mask and apply its movement to the video clip you want.
-
1
Create a mask around the subject.
First, track the moving subject. Create a mask around it with the Ellipse, Rectangle, or Pen tool. Starting with Mask To Motion 1.3.0, you can also use Object Mask. The examples below use the Ellipse, Rectangle, and Pen mask tools.
Tip If the pointer does not change to the mask-drawing cursor in the Program Monitor, turn off Direct Manipulation for Transform using the button at the lower left.
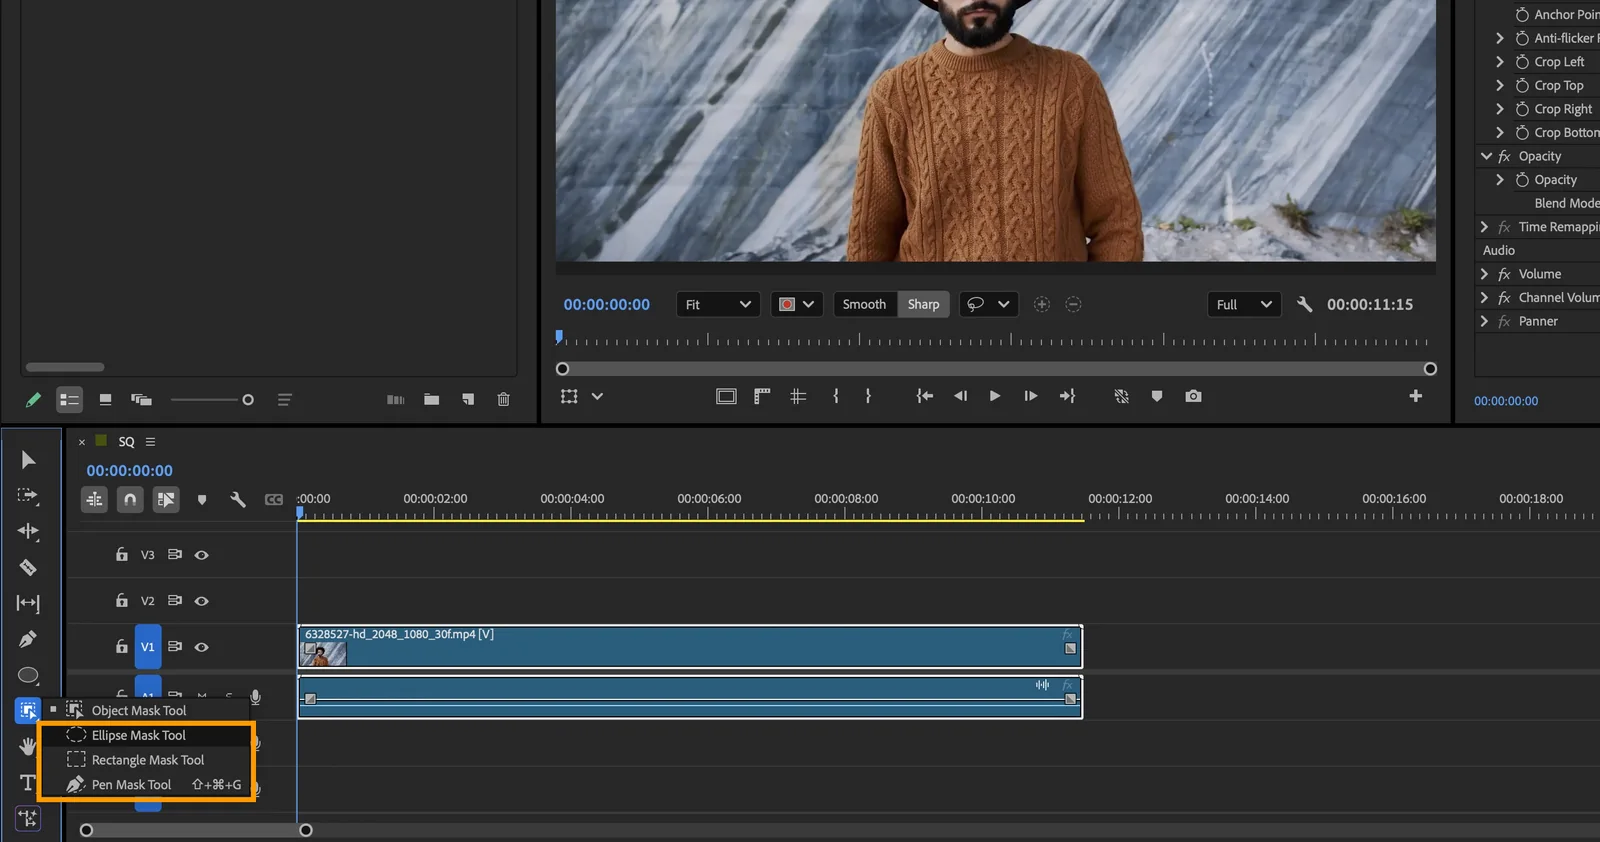
Select the Ellipse, Rectangle, or Pen mask tool from the toolbar. 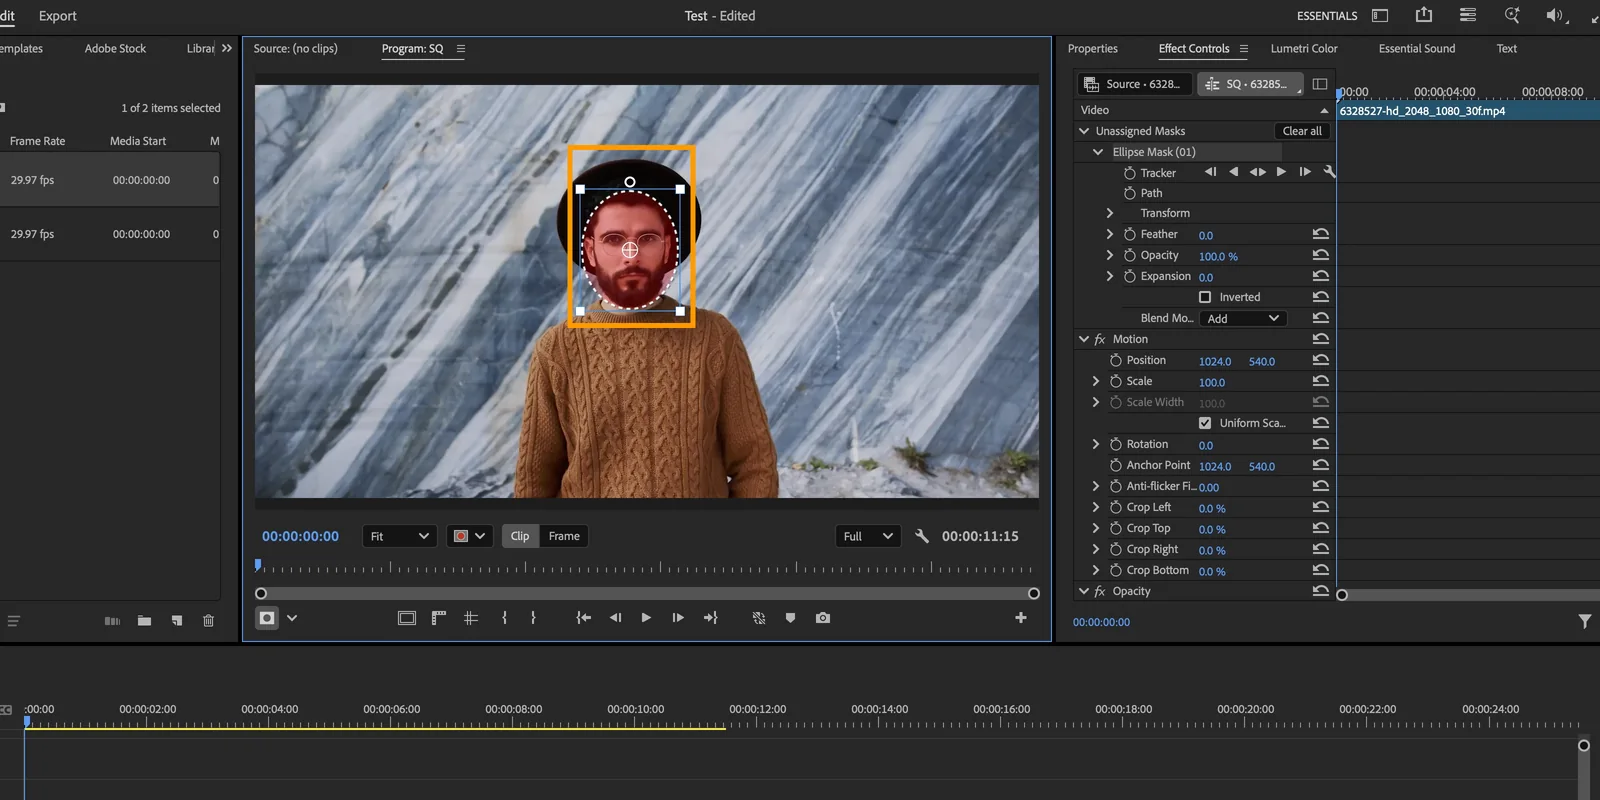
Adjust the mask in the Program Monitor so it surrounds the subject you want to track. -
2
Track the mask.
Select the video clip containing the mask, then use the mask tracker in the Effect Controls panel to track the movement.
Tip Tracking may be less accurate if the subject is too small or moves too quickly. If the result is not satisfactory, adjust the mask shape and track it again.
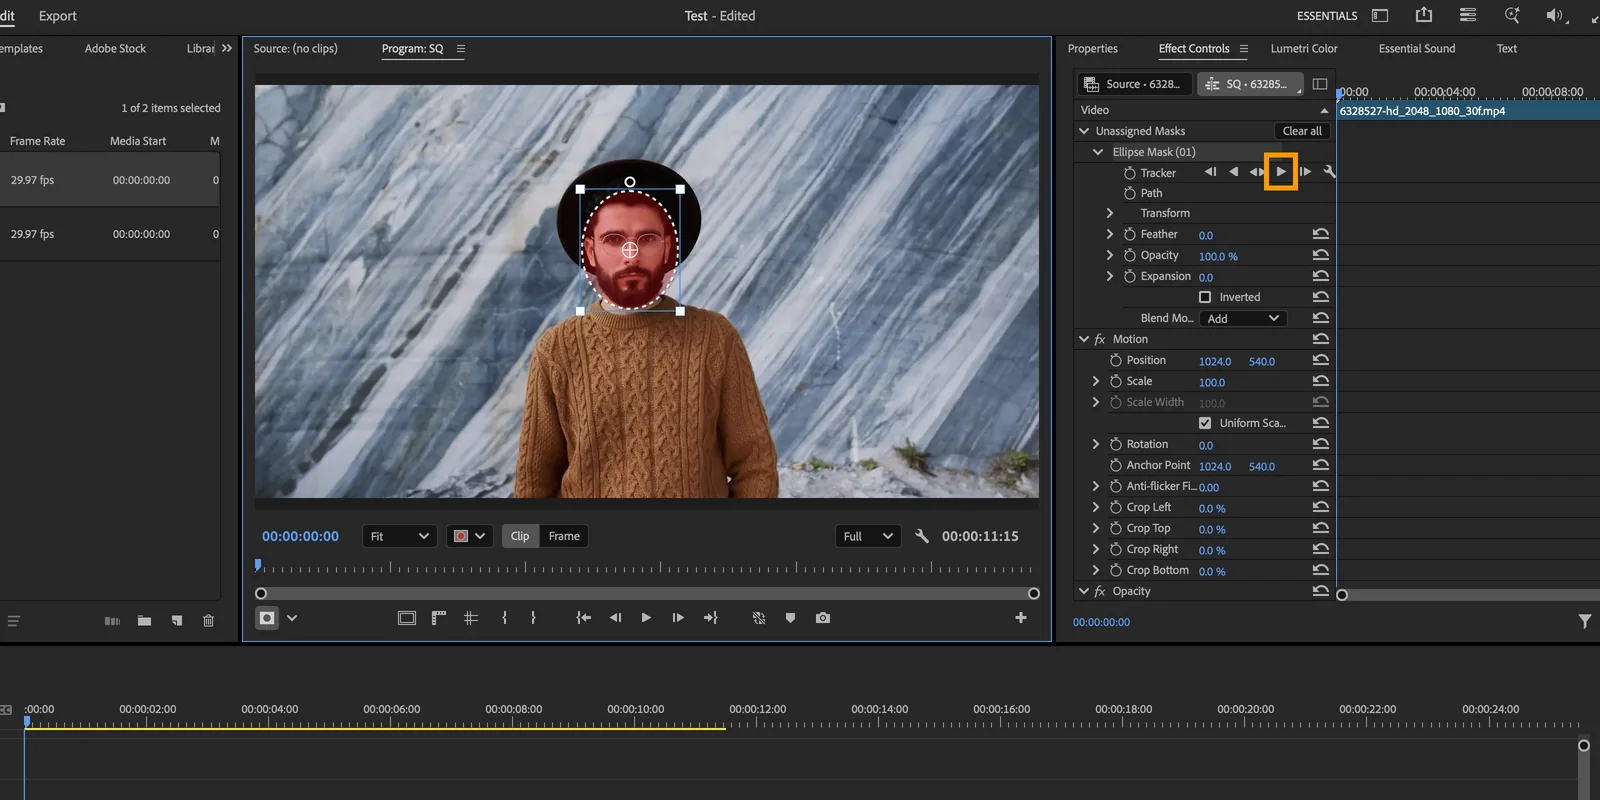
Click Track selected mask forward in the tracker controls in the Effect Controls panel. 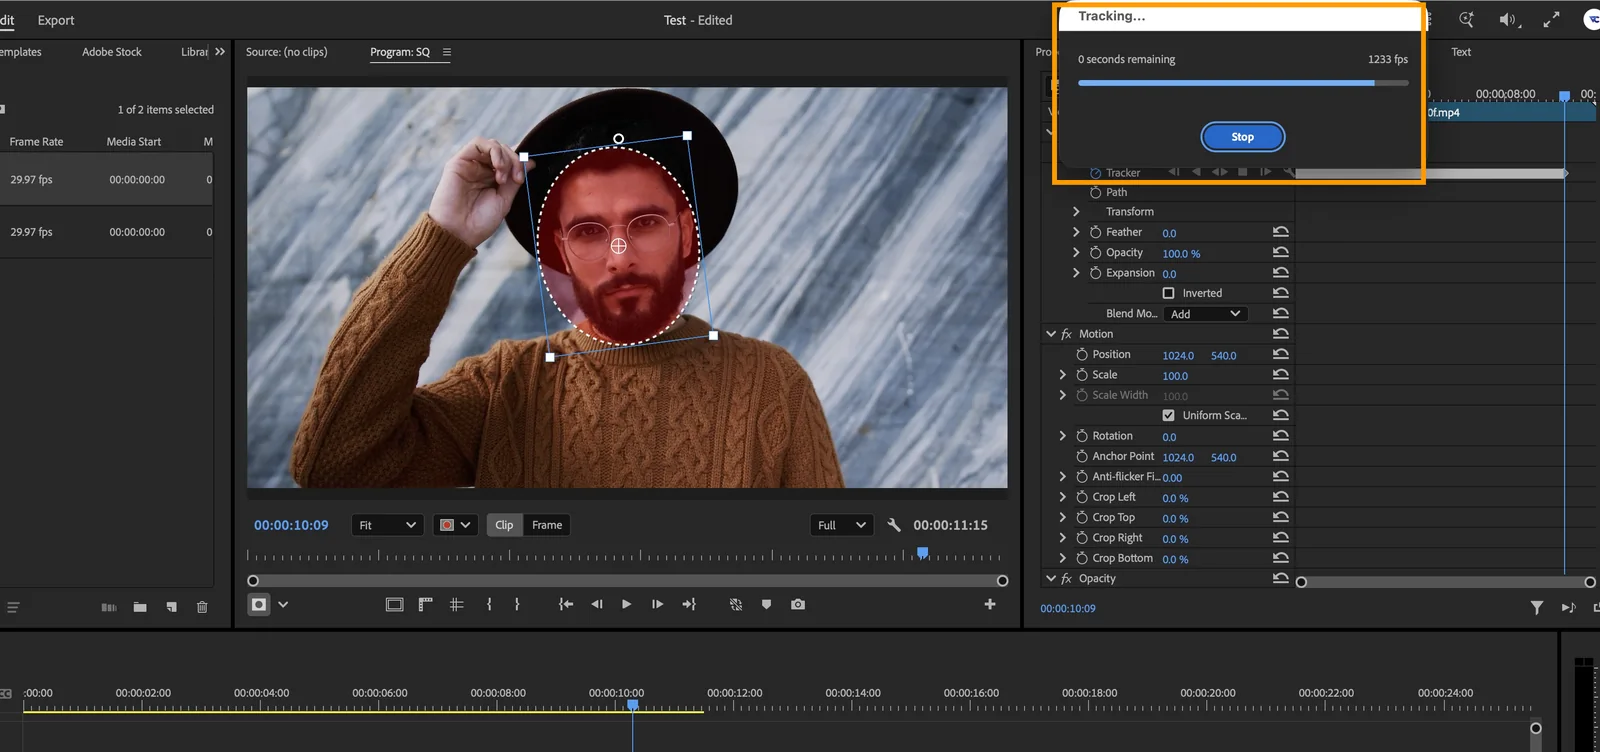
Wait for the analysis progress indicator to finish. -
3
Open Mask To Motion.
In Premiere Pro, choose Window > UXP Plugins > Mask To Motion.
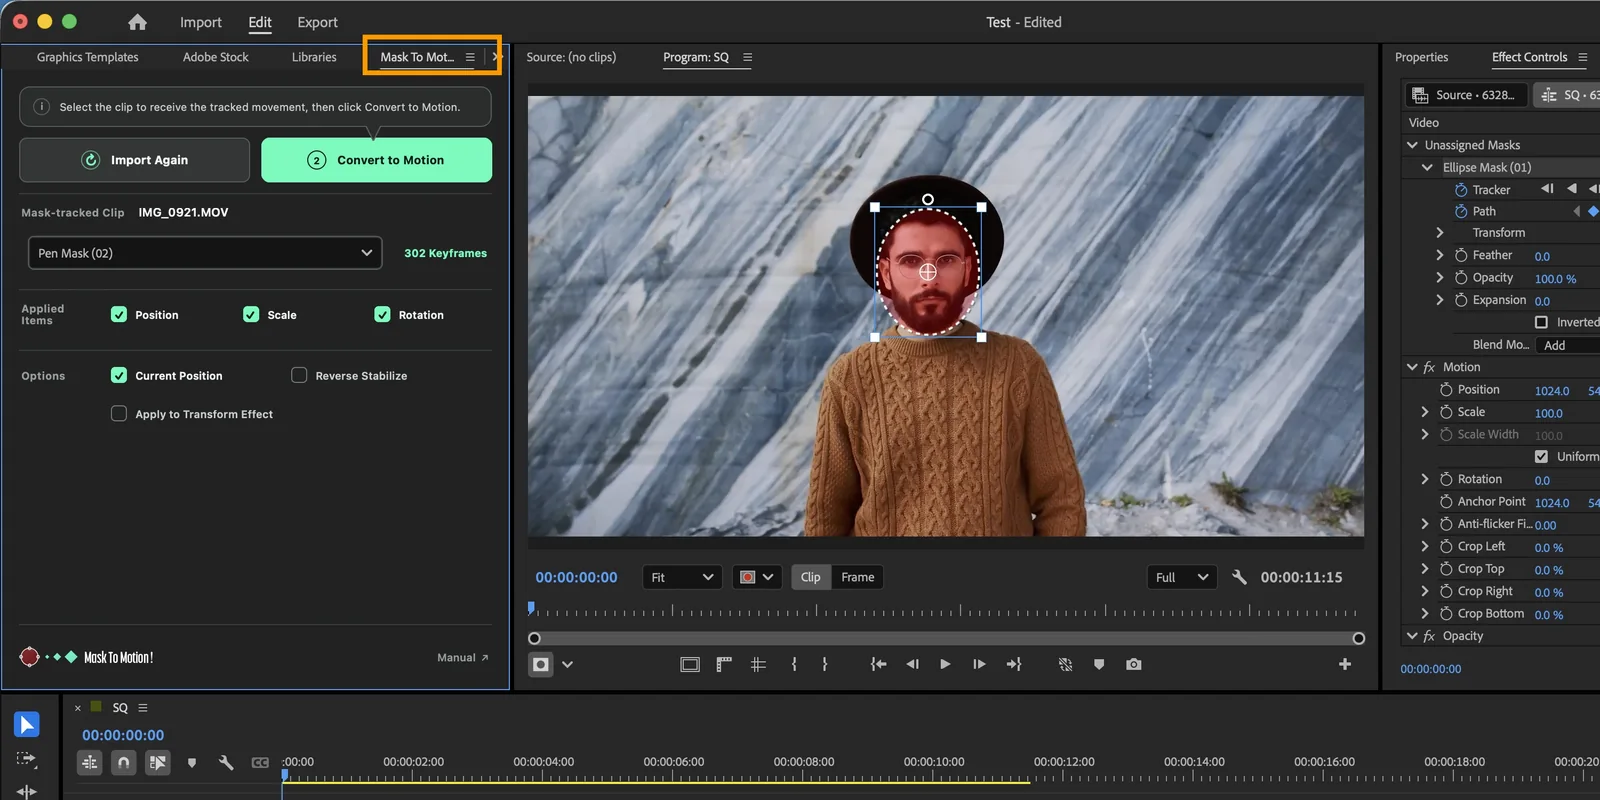
Once the Mask To Motion panel opens, dock it wherever you prefer. -
4
Import the tracked mask.
Select the tracked video clip in the Timeline, then in the Mask To Motion panel click Import Mask.
Importing a mask requires the project to be saved. If a save prompt appears, click OK to continue.
Important After importing the mask, do not move the tracked video clip or adjust its timing. Doing so can cause errors when applying the motion to another clip.
Tip If the clip contains multiple masks, choose the mask to import in the Mask To Motion panel.
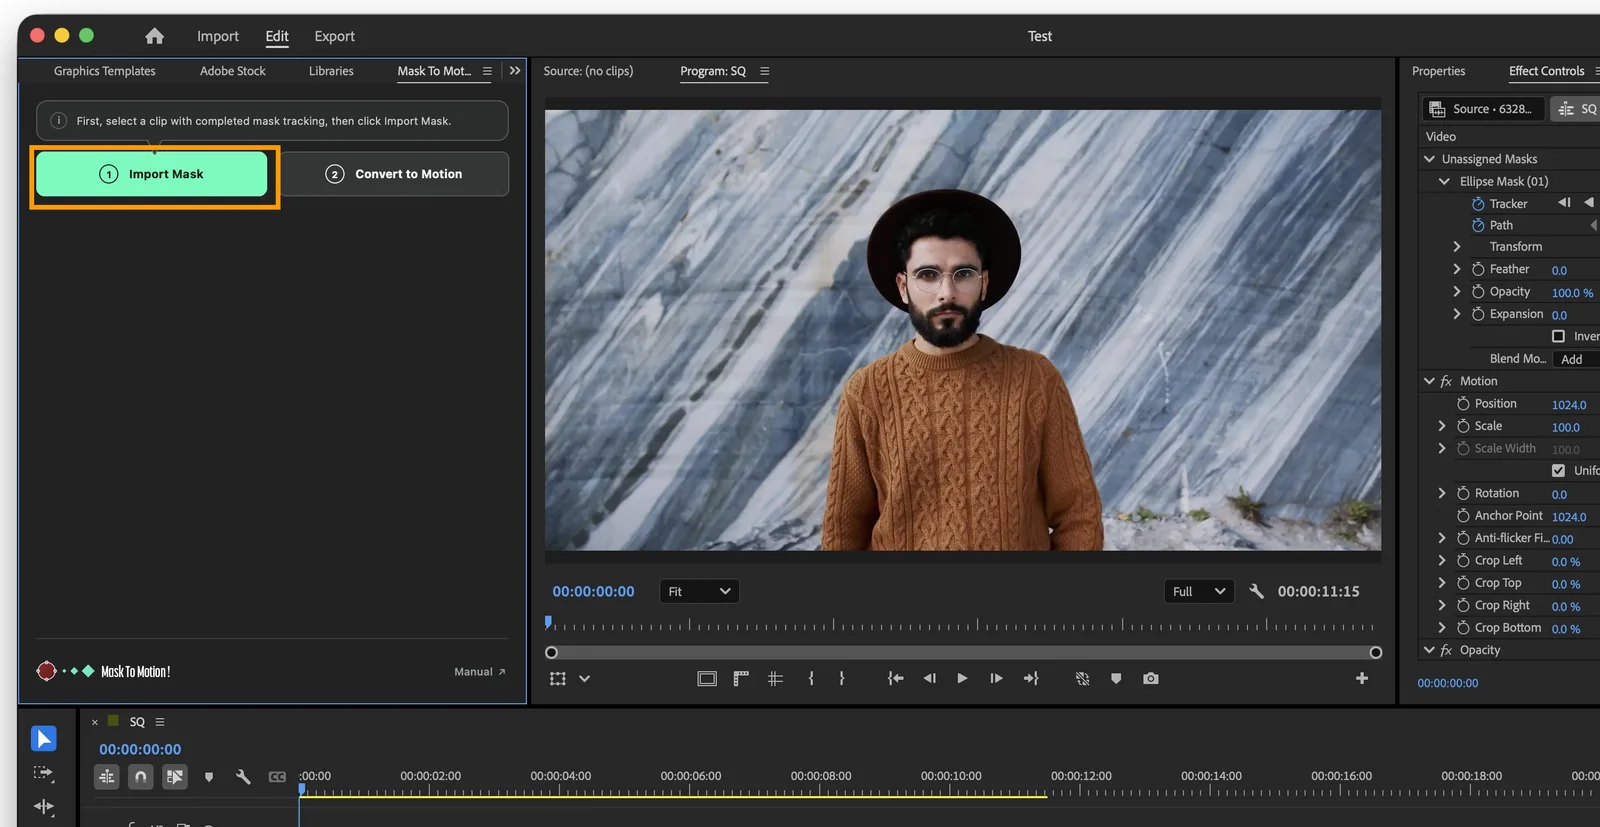
With the tracked clip selected, click Import Mask. 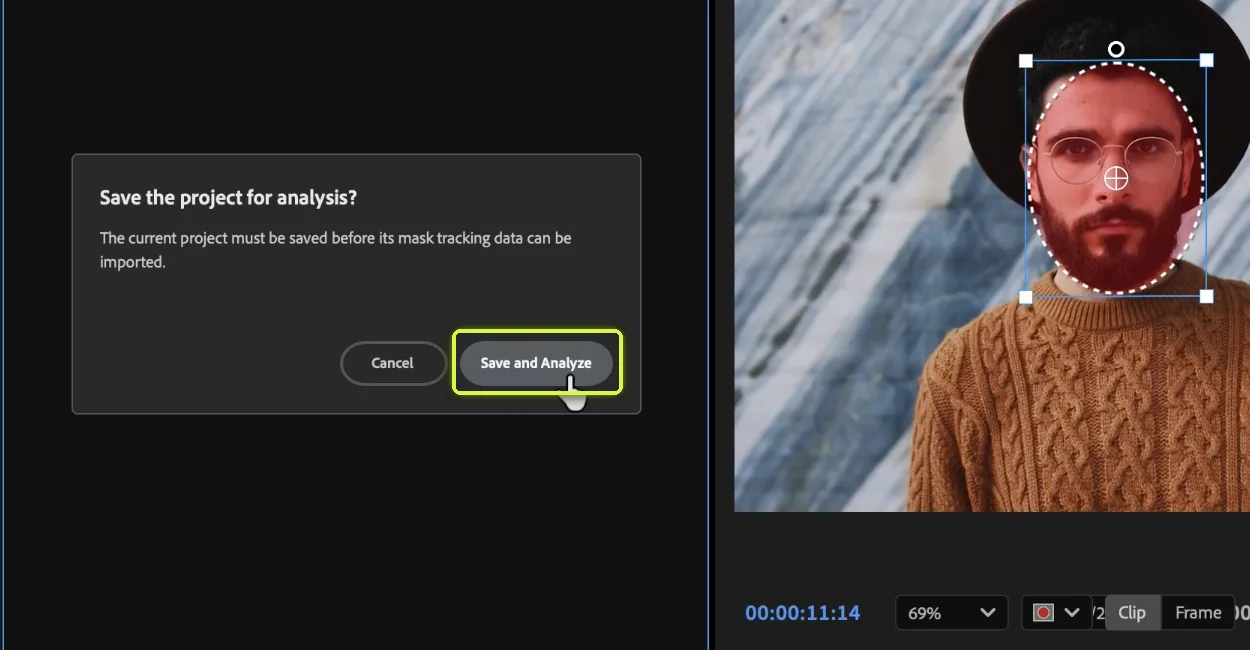
Then, if a save prompt appears, click OK to continue. 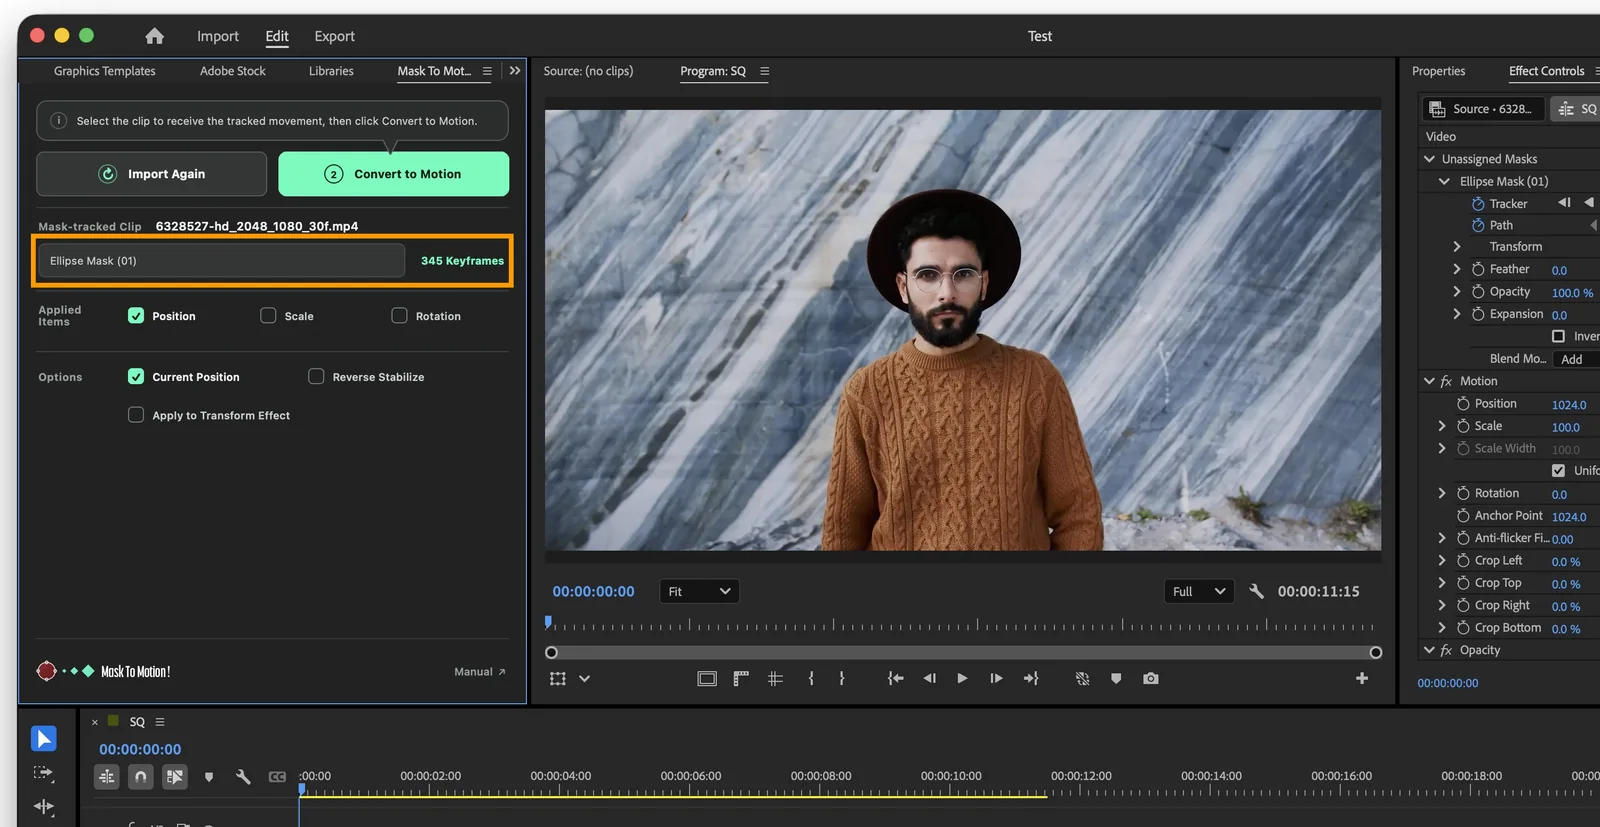
Confirm the imported mask and the number of detected keyframes. -
5
Prepare the target clip.
Place the video clip that will receive the tracked motion in the Timeline and, when possible, adjust its duration to match the tracked range.
Tip You can also apply tracked motion to text and graphics such as circles and rectangles.
Tip When applying motion to an arrow or label, adjust the target clip’s Anchor Point.
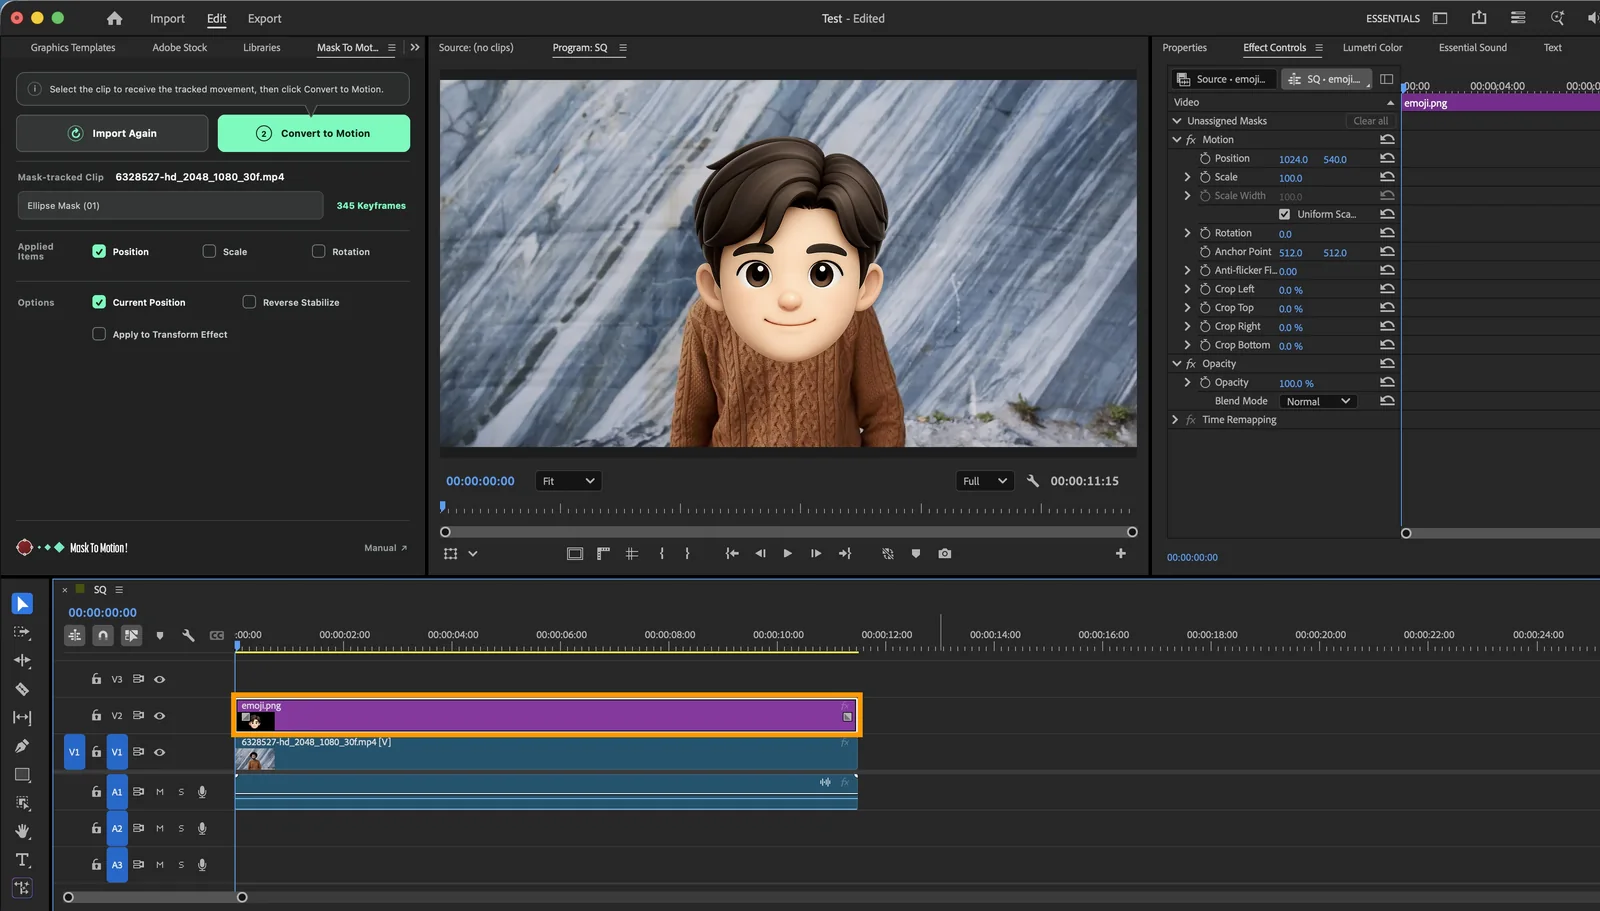
Place the graphic or video clip that will receive the motion above the tracked section. -
6
Convert to Motion.
Select the video clip that will receive the motion, then in the Mask To Motion panel click Convert to Motion.
Tip If the target also changes in size or rotation, under Applied Items select Scale and Rotation before converting.
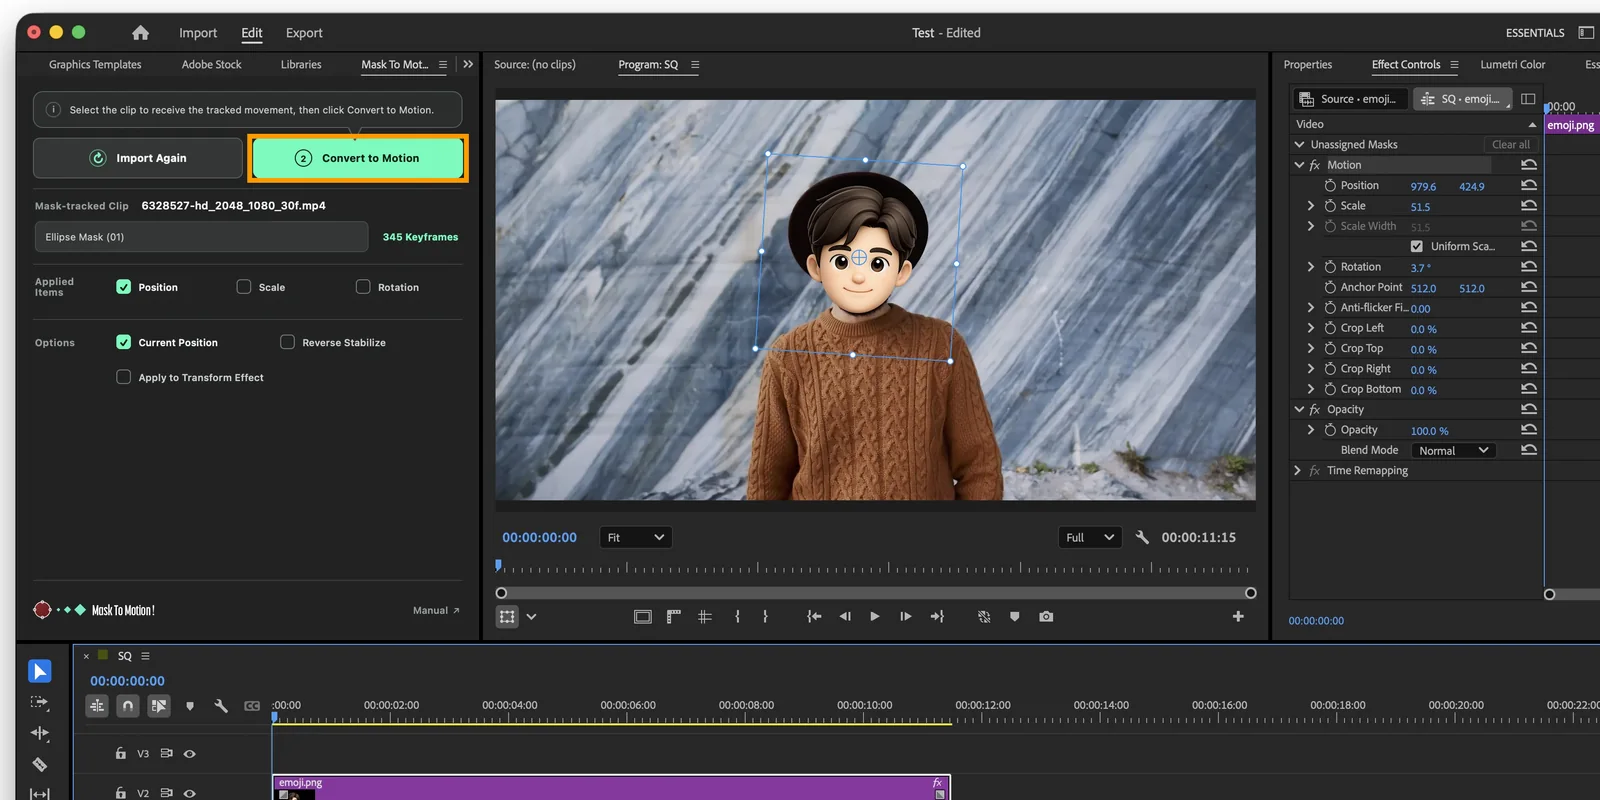
Select the target clip, choose the properties to apply, then click Convert to Motion. -
7
Check the result.
The conversion is complete. Check the Program Monitor and Effect Controls panel to confirm that Motion was applied to the selected clip.
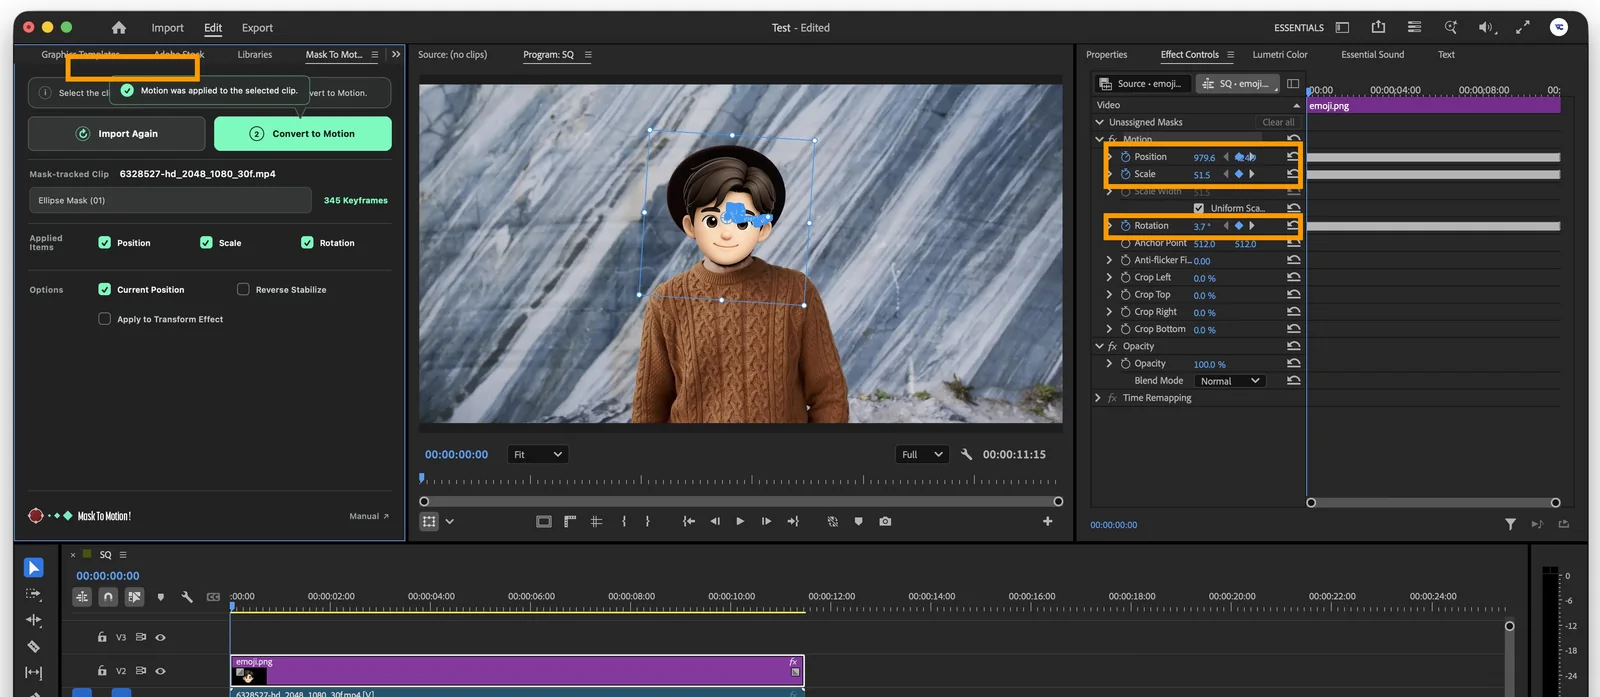
Check the result in the Program Monitor and the keyframes created in the Effect Controls panel. Play the result and confirm that the graphic follows the tracked subject.
More ways to use it
More ways to use Mask To Motion will be covered in an upcoming YouTube video.